

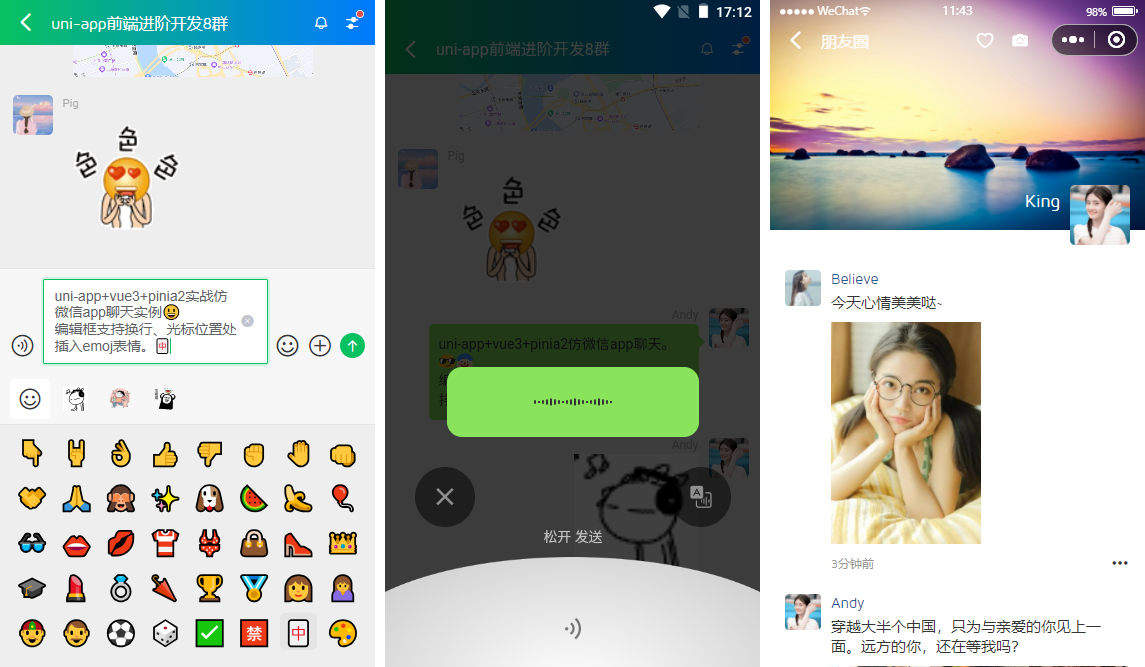
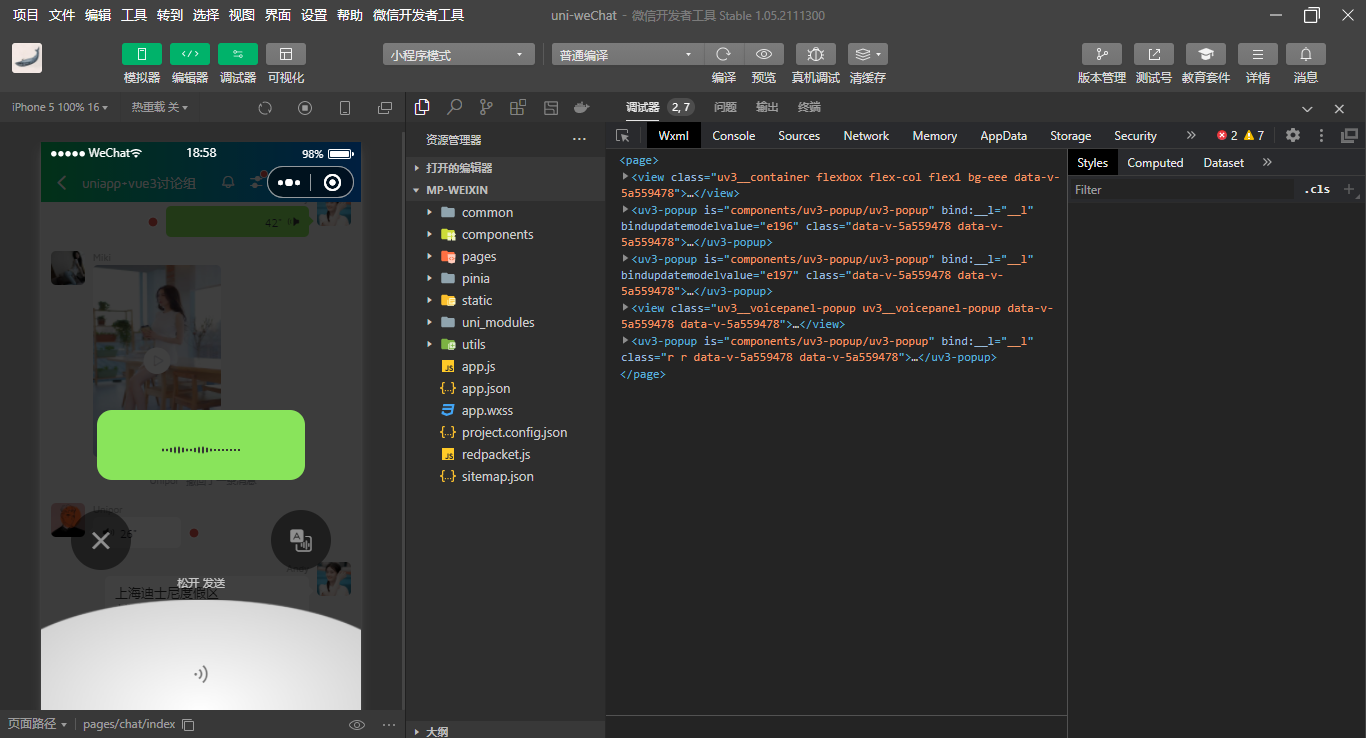
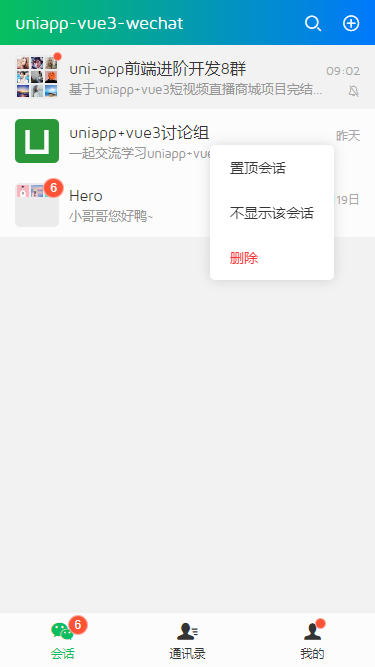
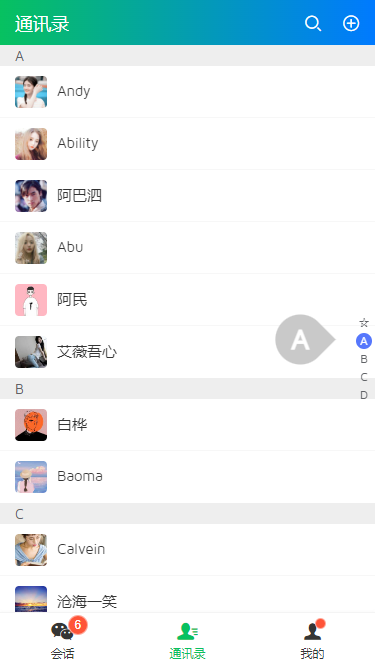
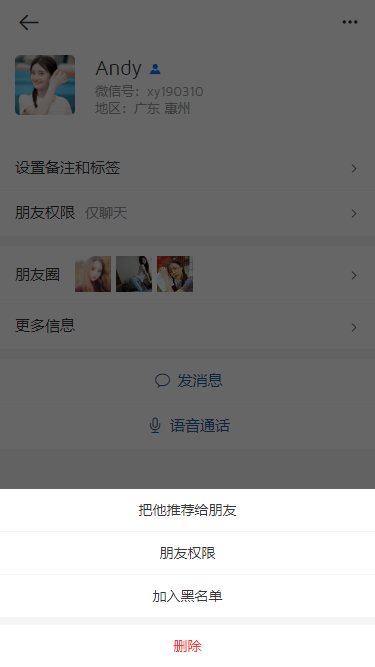
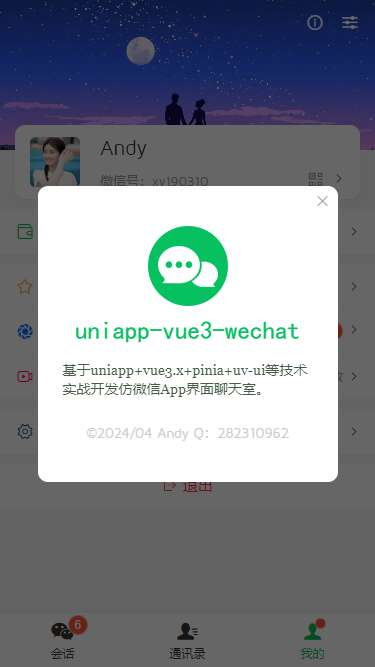
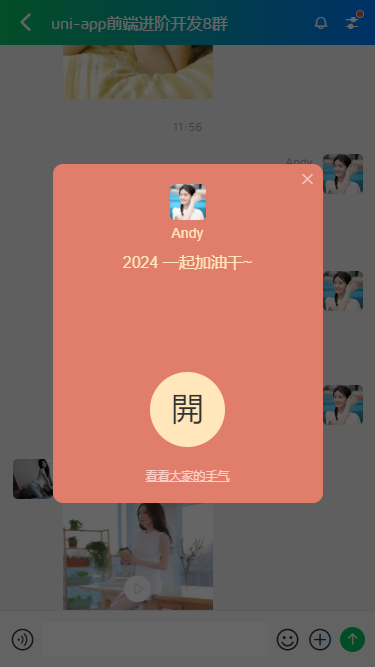
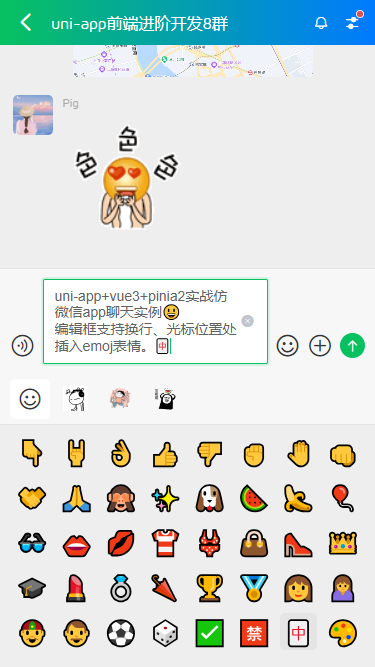
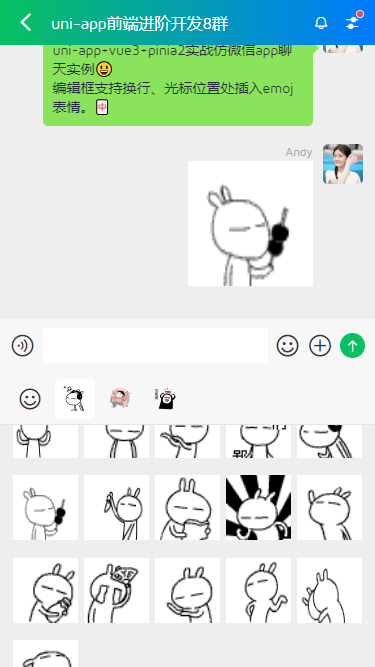
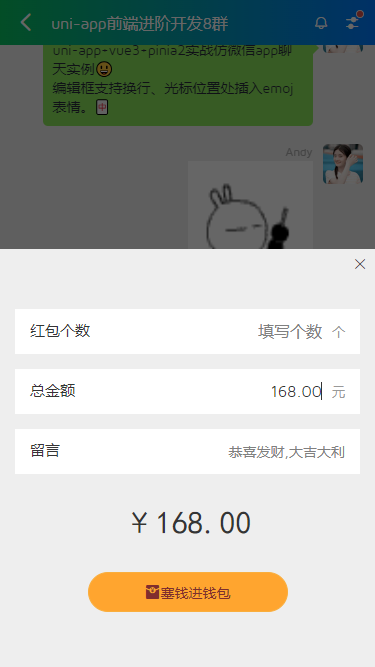
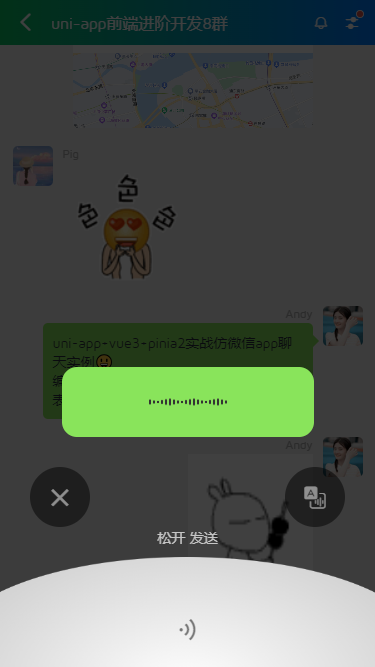
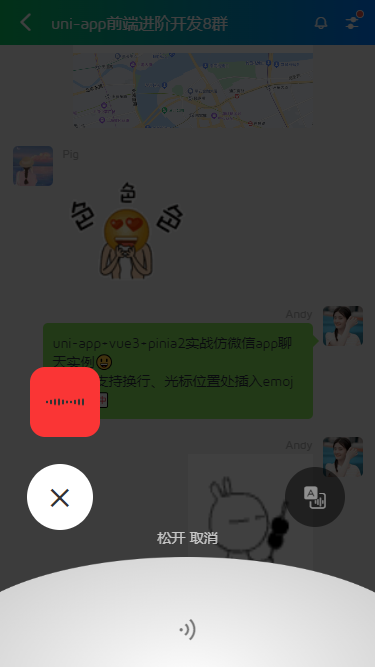
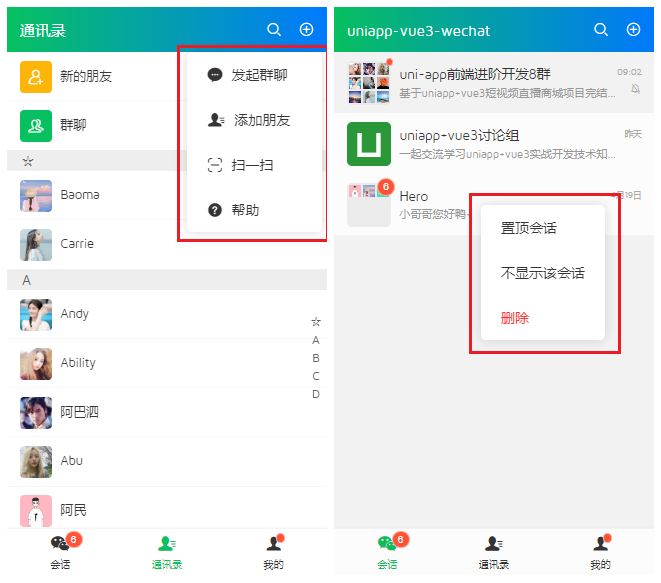
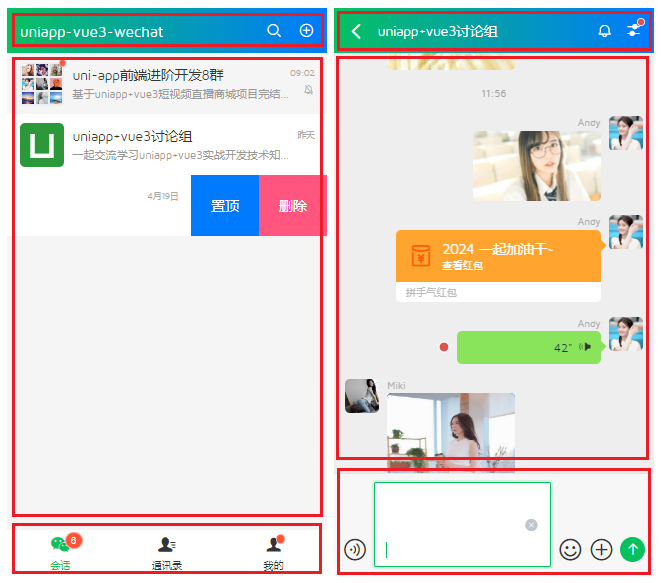
UniVue3Chat原创基于uniapp+vue3开发的一款跨端聊天实例项目,实现输入框多行消息+emoj表情、仿微信按住说话语音面板、图片/视频预览、红包/朋友圈等功能。
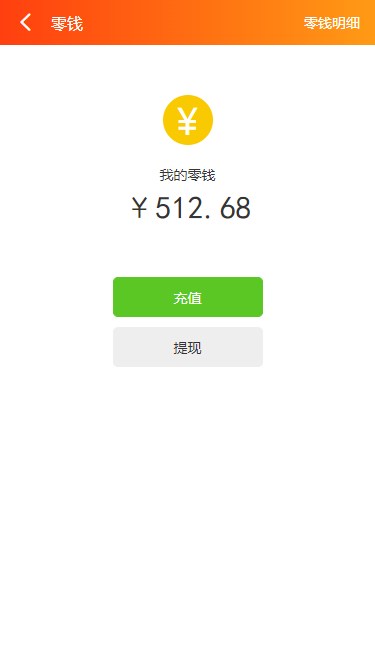
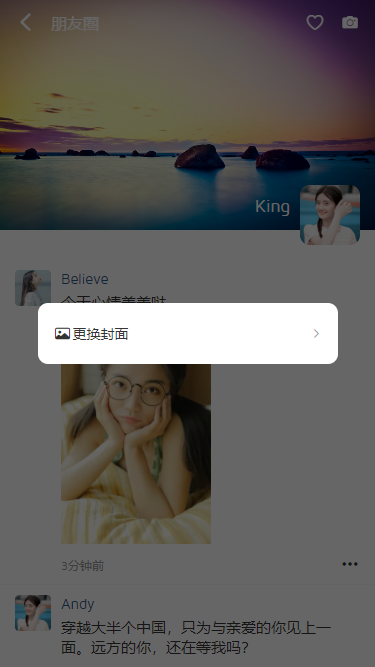
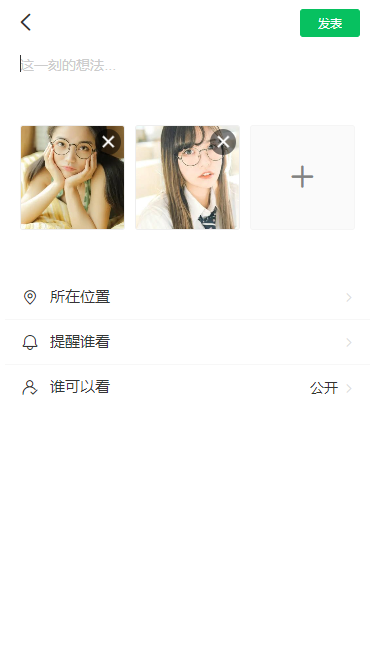
h5+小程序+App端预览图:

使用技术
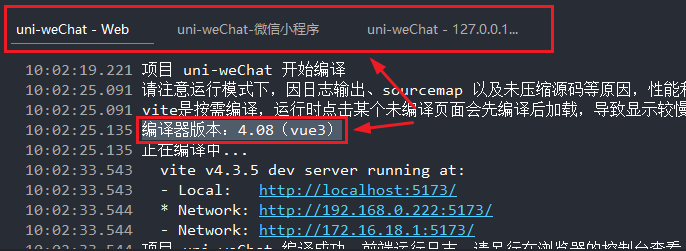
- 开发工具:HbuilderX 4.0.8
- 技术框架:Uniapp+Vue3+Pinia2+Vite4.x
- UI组件库:uni-ui+uv-ui
- 弹框组件:uv3-popup(uniapp+vue3多端自定义弹框组件)
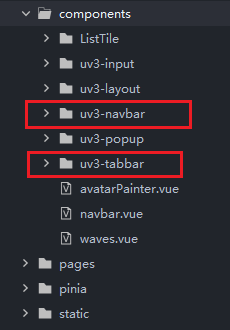
- 自定义组件:uv3-navbar+uv3-tabbar组件
- 缓存服务:pinia-plugin-unistorage
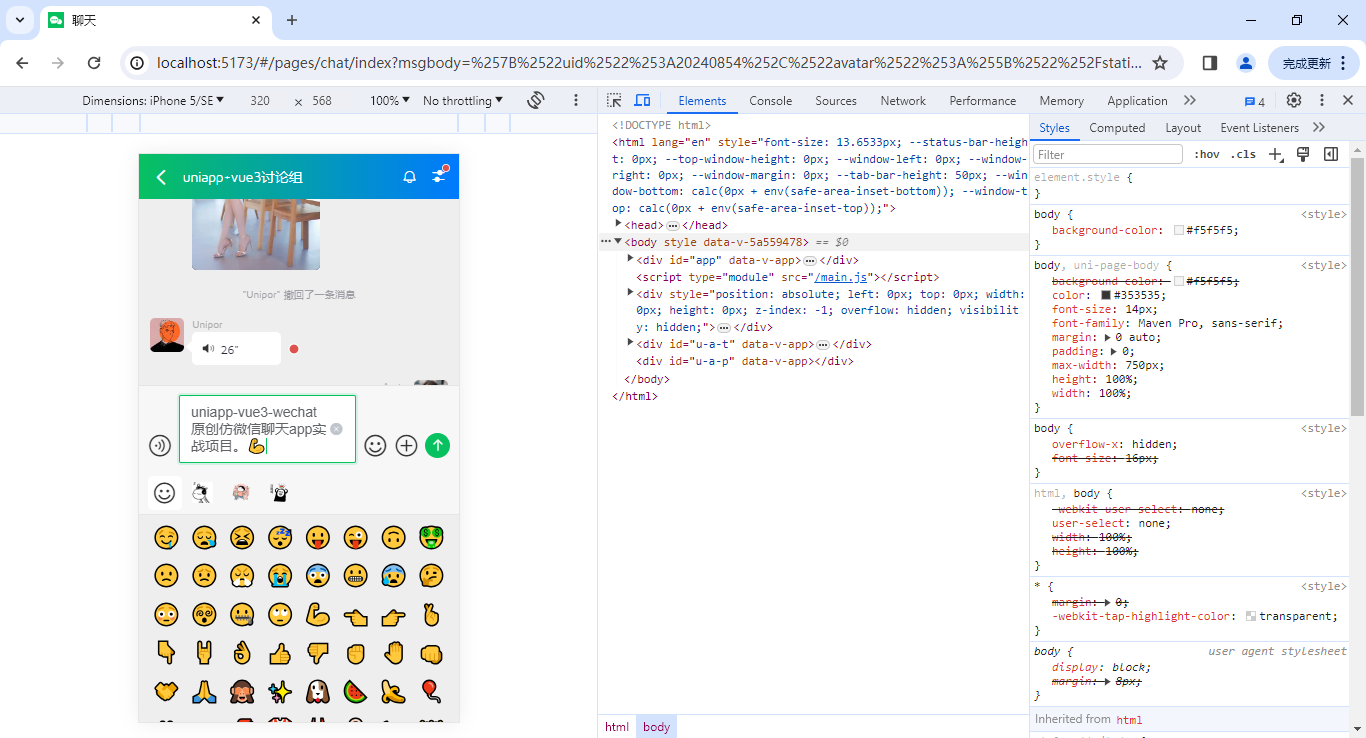
- 编译支持:H5+小程序+APP端
使用HbuilderX4.0.8编辑器开发项目,采用vue3 setup语法糖编码。

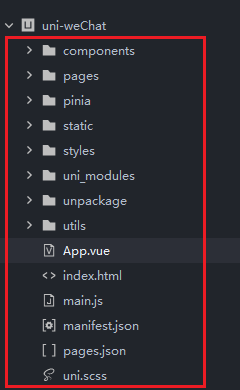
项目结构


App.vue模板配置
<script setup>
    import { provide } from 'vue'
    import { onLaunch, onShow, onHide, onPageNotFound } from '@dcloudio/uni-app'

    onLaunch(() => {
        console.log('App Launch')

        uni.hideTabBar()
        loadSystemInfo()
    })

    onShow(() => {
        console.log('App Show')
    })

    onHide(() => {
        console.log('App Hide')
    })

    onPageNotFound((e) => {
        console.warn('Route Error:', `${e.path}`)
    })

    // 获取系统设备信息
    const loadSystemInfo = () => {
        uni.getSystemInfo({
            success: (e) => {
                // 获取手机状态栏高度
                let statusBar = e.statusBarHeight
                let customBar

                // #ifndef MP
                customBar = statusBar + (e.platform == 'android' ? 50 : 45)
                // #endif

                // #ifdef MP-WEIXIN
                // 获取胶囊按钮的布局位置信息
                let menu = wx.getMenuButtonBoundingClientRect()
                // 导航栏高度 = 胶囊下距离 + 胶囊上距离 - 状态栏高度
                customBar = menu.bottom + menu.top - statusBar
                // #endif

                // #ifdef MP-ALIPAY
                customBar = statusBar + e.titleBarHeight
                // #endif

                // 由于globalData在vue3 setup存在兼容性问题,改为provide/inject替代方案
                provide('globalData', {
                    statusBarH: statusBar,
                    customBarH: customBar,
                    screenWidth: e.screenWidth,
                    screenHeight: e.screenHeight,
                    platform: e.platform
                })
            }
        })
    }
</script>

<style>
    /* #ifndef APP-NVUE */
    @import 'static/fonts/iconfont.css';
    /* #endif */
</style>
<style lang="scss">
    @import 'styles/reset.scss';
    @import 'styles/layout.scss';
</style>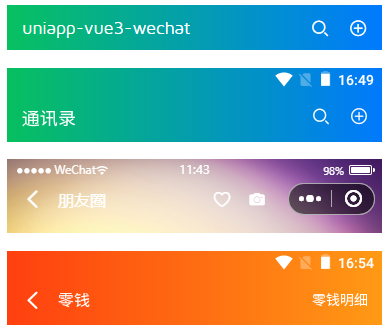


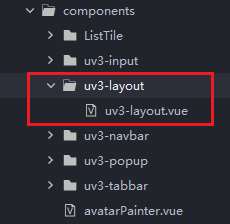
布局模板layout
整个项目采用顶部导航+内容区+底部区域三模块组成。
<!-- 公共布局模板 -->
<!-- #ifdef MP-WEIXIN -->
<script>
export default {
/**
* 解决小程序class、id透传问题
* manifest.json中配置mergeVirtualHostAttributes: true, 在微信小程序平台不生效,组件外部传入的class没有挂到组件根节点上,在组件中增加options: { virtualHost: true }
* https://github.com/dcloudio/uni-ui/issues/753
*/
options: { virtualHost: true }
}
</script>
<!-- #endif -->
<script setup>
const props = defineProps({
// 是否显示自定义tabbar
showTabBar: { type: [Boolean, String], default: false },
})
</script>
<template>
<view class="uv3__container flexbox flex-col flex1">
<!-- 顶部插槽 -->
<slot name="header" />
<!-- 内容区 -->
<view class="uv3__scrollview flex1">
<slot />
</view>
<!-- 底部插槽 -->
<slot name="footer" />
<!-- tabbar栏 -->
<uv3-tabbar v-if="showTabBar" hideTabBar fixed />
</view>
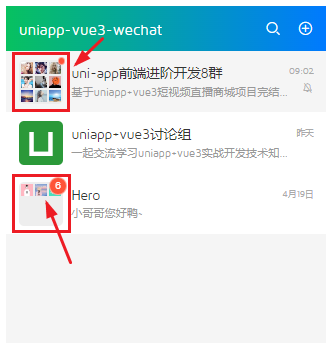
</template>如下图:实现类似微信九宫格图像
<script setup>
    import { onMounted, ref, computed, watch, getCurrentInstance } from 'vue'

    const props = defineProps({
        // 图像组
        avatar: { type: Array, default: null },
    })

    const instance = getCurrentInstance()

    const uuid = computed(() => Math.floor(Math.random() * 10000))
    const avatarPainterId = ref('canvasid' + uuid.value)

    const createAvatar = () => {
        const ctx = uni.createCanvasContext(avatarPainterId.value, instance)
        // 计算图像在画布上的坐标
        const avatarSize = 12
        const gap = 2
        for(let i = 0, len = props.avatar.length; i < len; i++) {
            const row = Math.floor(i / 3)
            const col = i % 3
            const x = col * (avatarSize + gap)
            const y = row * (avatarSize + gap)

            ctx.drawImage(props.avatar[i], x, y, avatarSize, avatarSize)
        }
        ctx.draw(false, () => {
            // 输出临时图片
            /* uni.canvasToTempFilePath({
                canvasId: avatarPainterId.value,
                success: (res) => {
                    console.log(res.tempFilePath)
                }
            }) */
        })
    }

    onMounted(() => {
        createAvatar()
    })

    watch(() => props.avatar, () => {
        createAvatar()
    })
</script>

<template>
    <template v-if="avatar.length > 1">
        <view class="uv3__avatarPainter">
            <canvas :canvas-id="avatarPainterId" class="uv3__avatarPainter-canvas"></canvas>
        </view>
    </template>
    <template v-else>
        <image class="uv3__avatarOne" :src="avatar[0]" />
    </template>
</template>

<style lang="scss" scoped>
    .uv3__avatarPainter {background-color: #eee; border-radius: 5px; overflow: hidden; padding: 2px; height: 44px; width: 44px;}
    .uv3__avatarPainter-canvas {height: 100%; width: 100%;}
    .uv3__avatarOne {border-radius: 5px; height: 44px; width: 44px;}
</style>
该项目涉及到的知识点还是挺多的,希望以上分享对大家有所帮助!
作者:xiaoyan2015
链接:https://juejin.cn/post/7363121890791899170
来源:稀土掘金
著作权归作者所有。商业转载请联系作者获得授权,非商业转载请注明出处。
0条评论